Cider, Community, and Fall Activities: Apple Pressing at the Sullivan County Public Cidery
Cider, Community, and Fall Activities: Apple Pressing at the Sullivan County Public Cidery
Written by Madeline Ferland on October 16, 2023.
Fall is an undeniably magical and vibrant season, and few experiences rival the crisp joy of freshly pressed apple cider. As the leaves turn vibrant shades of red and gold, and the air carries the earthy scent of fallen apples, it’s the perfect time to delve into the art of cider-making.
This past Friday I had the pleasure of learning how to make apple cider from scratch and do it myself with the help of some amazing volunteers at Sullivan County’s Public Cidery.

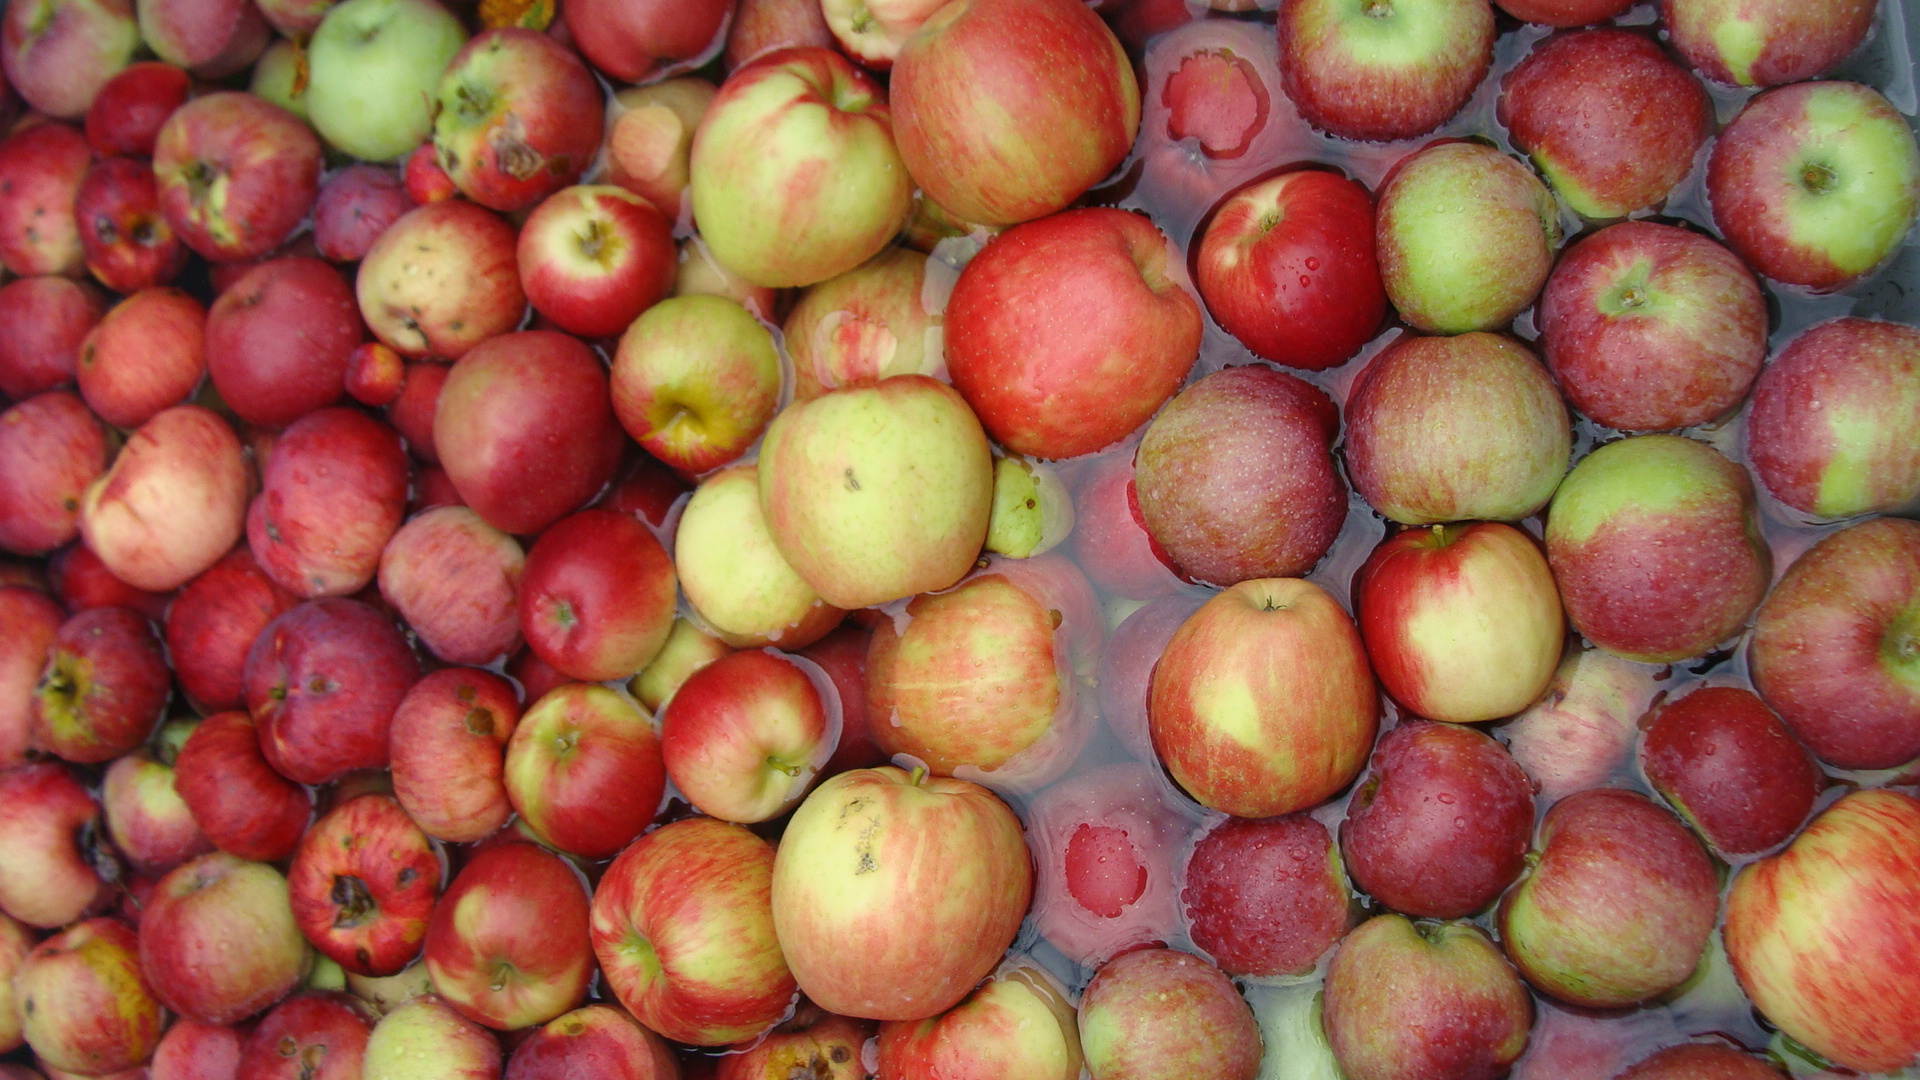
Apples in a Bin. Image Credit: Sullivan County Government.
Before Arrival: Gathering apples
Before actually scheduling an appointment to go press the apples, you first have to make sure you’ve got enough apples picked. There are two orchards in the Sugar River Region where you can pick your own apples or purchase by the bag – Riverview Farm in Plainfield and King Blossom Farm in Grantham. The apples we brought in actually came from the few trees growing in my backyard! Many of the apples had end rot and icky spots, so while my family and I were picking, we had to assess every one and decide whether it would be food for the deer or future apple cider. Even though there were probably more icky spots than I would’ve liked, and had to cut out later, I think it’s pretty neat that our backyard trees are “au naturel”.
It took approximately two hours to gather the amount of apples necessary for the pressing process. We collected the apples by using an apple picker and a tarp. First, we did the old “shake ‘em down” method, in which we laid the tarp on the ground and used the picker to make the branches sway and the apples fall. Then of course, since some apples play hard to get, we handpicked the rest using the picker. I definitely recommend using an apple picker – it made the process much smoother and allowed us to reach the lovely-looking ones on top!
Apples in the Wash Bin. Image Credit: Sullivan County Government.
Step One: Unloading then washing
In order to use the cider-making equipment, you must be sure to have at least seven crates of apples for one pressing. Once my Dad and I had arrived at the Sullivan County Cidery in Unity, Mary, Sue, and Mark helped us unload the bags and crates of apples we’d collected, which turned out to be around eight or so total crates. I wasn’t quite sure that we’d brought enough apples, but thankfully a couple who’d been at the Cidery the day before left one of their crates for the next people to use if they needed to. This is one of the great aspects of our community and the Cidery, is that you’re encouraged to share apples if you’ve got too many and someone else didn’t bring enough.
The next step was to unload a few crates at a time into a large washtub, where we then scrubbed the apples to clean any dirt off. The apples just floating in the tub totally reminded me of apple bobbing, so we all got to talking about Fall and Halloween games and traditions while washing the apples.

Apple Washing and Peeling. Image Credit: Madeline Ferland
Step Two: Peeling and cutting out icky parts
The longest and most tedious part of the apples to cider process was cutting out the bad parts to make sure only desirable bits were going into the cider. Since our backyard apples grow completely organically, they tend to be a bit more misshapen and can have more rot spots or bruises than orchard-grown apples. So, that means we had to spend a little more time and effort in preparing the apples to become delicious apple cider.
The Cidery has signs up that show you what to look for when you’re cutting and peeling apples. You really don’t want end rot, holes, or rot in general when you’re making apple cider or eating an apple. Typically, you can get a good feel of how much you’ll need to cut out to get rid of the rot, but I was surprised with how far in the rot went with some of the apples. Unfortunately, those just had to be thrown out as a whole. But not to worry, the waste goes to the pigs and is reused as compost!Step Three: Using the grinder and loading the press
While Sue, Mary, and my Dad and I were cutting the apples, Mark offered to teach me how to use the apple grinder. The grinder was probably the most exciting thing for me to use because of its efficiency – even though the machine was quite loud. All I had to do was toss the apples in the tube a couple at a time, make sure the apples didn’t jam the machine or get stuck, and that I didn’t put my hand down the tube.
Almost as soon as an apple would enter the tube, it would be chopped and ground into a million tiny pieces and dispensed into the six gallon bucket below. Mark would then switch out the buckets as soon as they got full. As the others were peeling the apples and setting the full crates next to the apple grinder, he and I would change out who was manning the machine and who was transferring the buckets. The buckets were then taken inside the cider shack and the contents were dumped into the press – setting us up for the actual pressing!

Getting the Crushed Apples into the Press. Image Credit: Madeline Ferland.
Step Three: Using the grinder and loading the press
While Sue, Mary, and my Dad and I were cutting the apples, Mark offered to teach me how to use the apple grinder. The grinder was probably the most exciting thing for me to use because of its efficiency – even though the machine was quite loud. All I had to do was toss the apples in the tube a couple at a time, make sure the apples didn’t jam the machine or get stuck, and that I didn’t put my hand down the tube.
Almost as soon as an apple would enter the tube, it would be chopped and ground into a million tiny pieces and dispensed into the six gallon bucket below. Mark would then switch out the buckets as soon as they got full. As the others were peeling the apples and setting the full crates next to the apple grinder, he and I would change out who was manning the machine and who was transferring the buckets. The buckets were then taken inside the cider shack and the contents were dumped into the press – setting us up for the actual pressing!
Step Four: Turn the press on and watch the magic happen
Even before all the crushed apple pieces were put into the press, cider was already seeping through the sides! It was an incredible sight. Then when the press got going, the bubbles and juice flowed continuously while the spigot spewed right into a new bucket. And there we have it! Apple cider right off the press. Although it wasn’t quite ready for consumption, since it had yet to be filtered, that was probably some of the tastiest cider I’ve had in my entire life.
All that was left was to filter the six gallon buckets of fresh cider to ensure that no stems or debris would be caught in the final batches, then to fill up the containers, pop the lids on, and leave with a whole lot of cider.
In the photo below, you can see Mary and Sue transferring a fresh bucket of cider through the filter, which then gets removed from the new bucket and the cider is ready for packaging! This process happens a few times over while the press is still running.
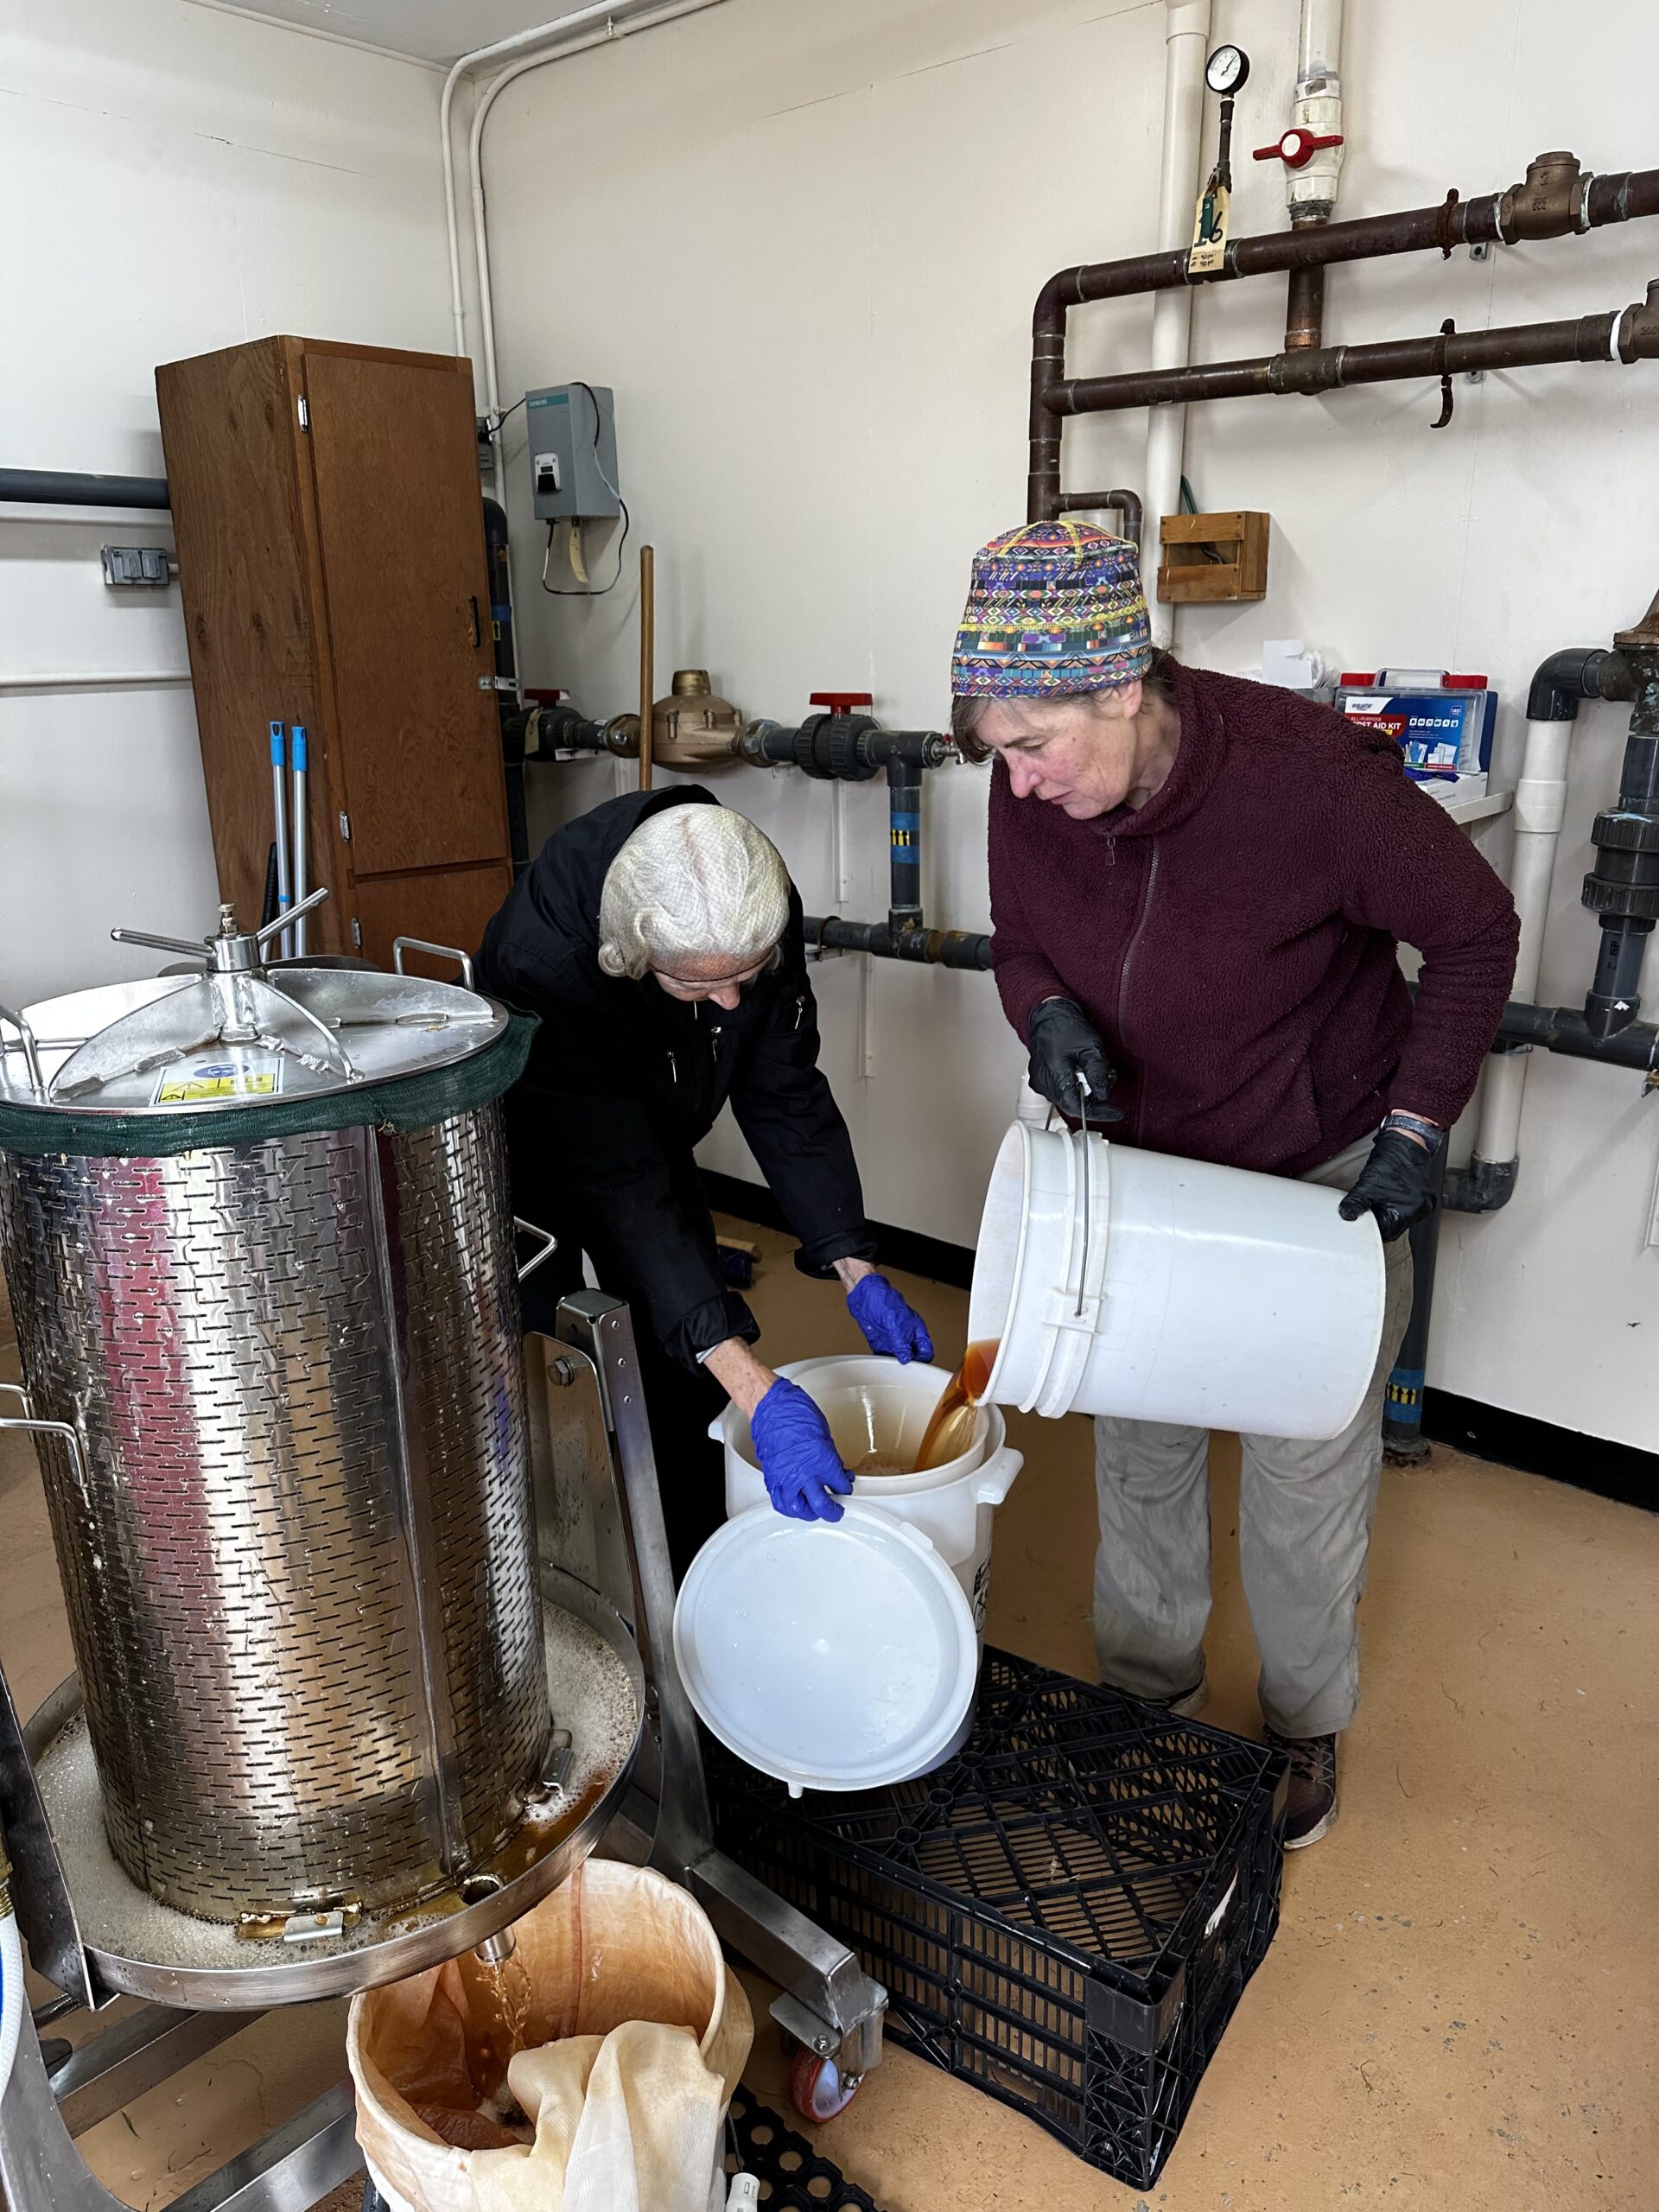
Filtering the Freshly Pressed Cider. Image Credit: Madeline Ferland.

Filling up a Half Gallon of Cider. Image Credit: Madeline Ferland.
Step Five: Fill the cartons and and clean up
The last step in the process before cleaning up is filling all the cartons with your fresh pressed cider. You get to choose what size cartons you’d like to use, so we did a majority of them being half gallons and just a few full gallons, (we decided half gallons were better for storage in our refrigerator and freezer). Then as you fill cartons, you pop the plastic lids on and once they’re on tight, you stick them in the giant ice bucket to chill, as you can see below.
Once all the apple cider was in containers, it was time to clean up and get everything washed and sanitized for the next pressing. Everyone moved swiftly into action so cleaning up took no longer than 15 minutes or so, which was super quick!

Cider Press Byproduct of Dried Apples. Image Credit: Madeline Ferland.
It’s also a common courtesy to offer a jug of cider to the volunteers, since they volunteered their time, effort, and knowledge on equipment use. They were so helpful every step of the way and I learned so much from them. I am very grateful to have worked with Mark, Sue, and Mary. I am already looking forward to coming back next year to press more cider and work with them.
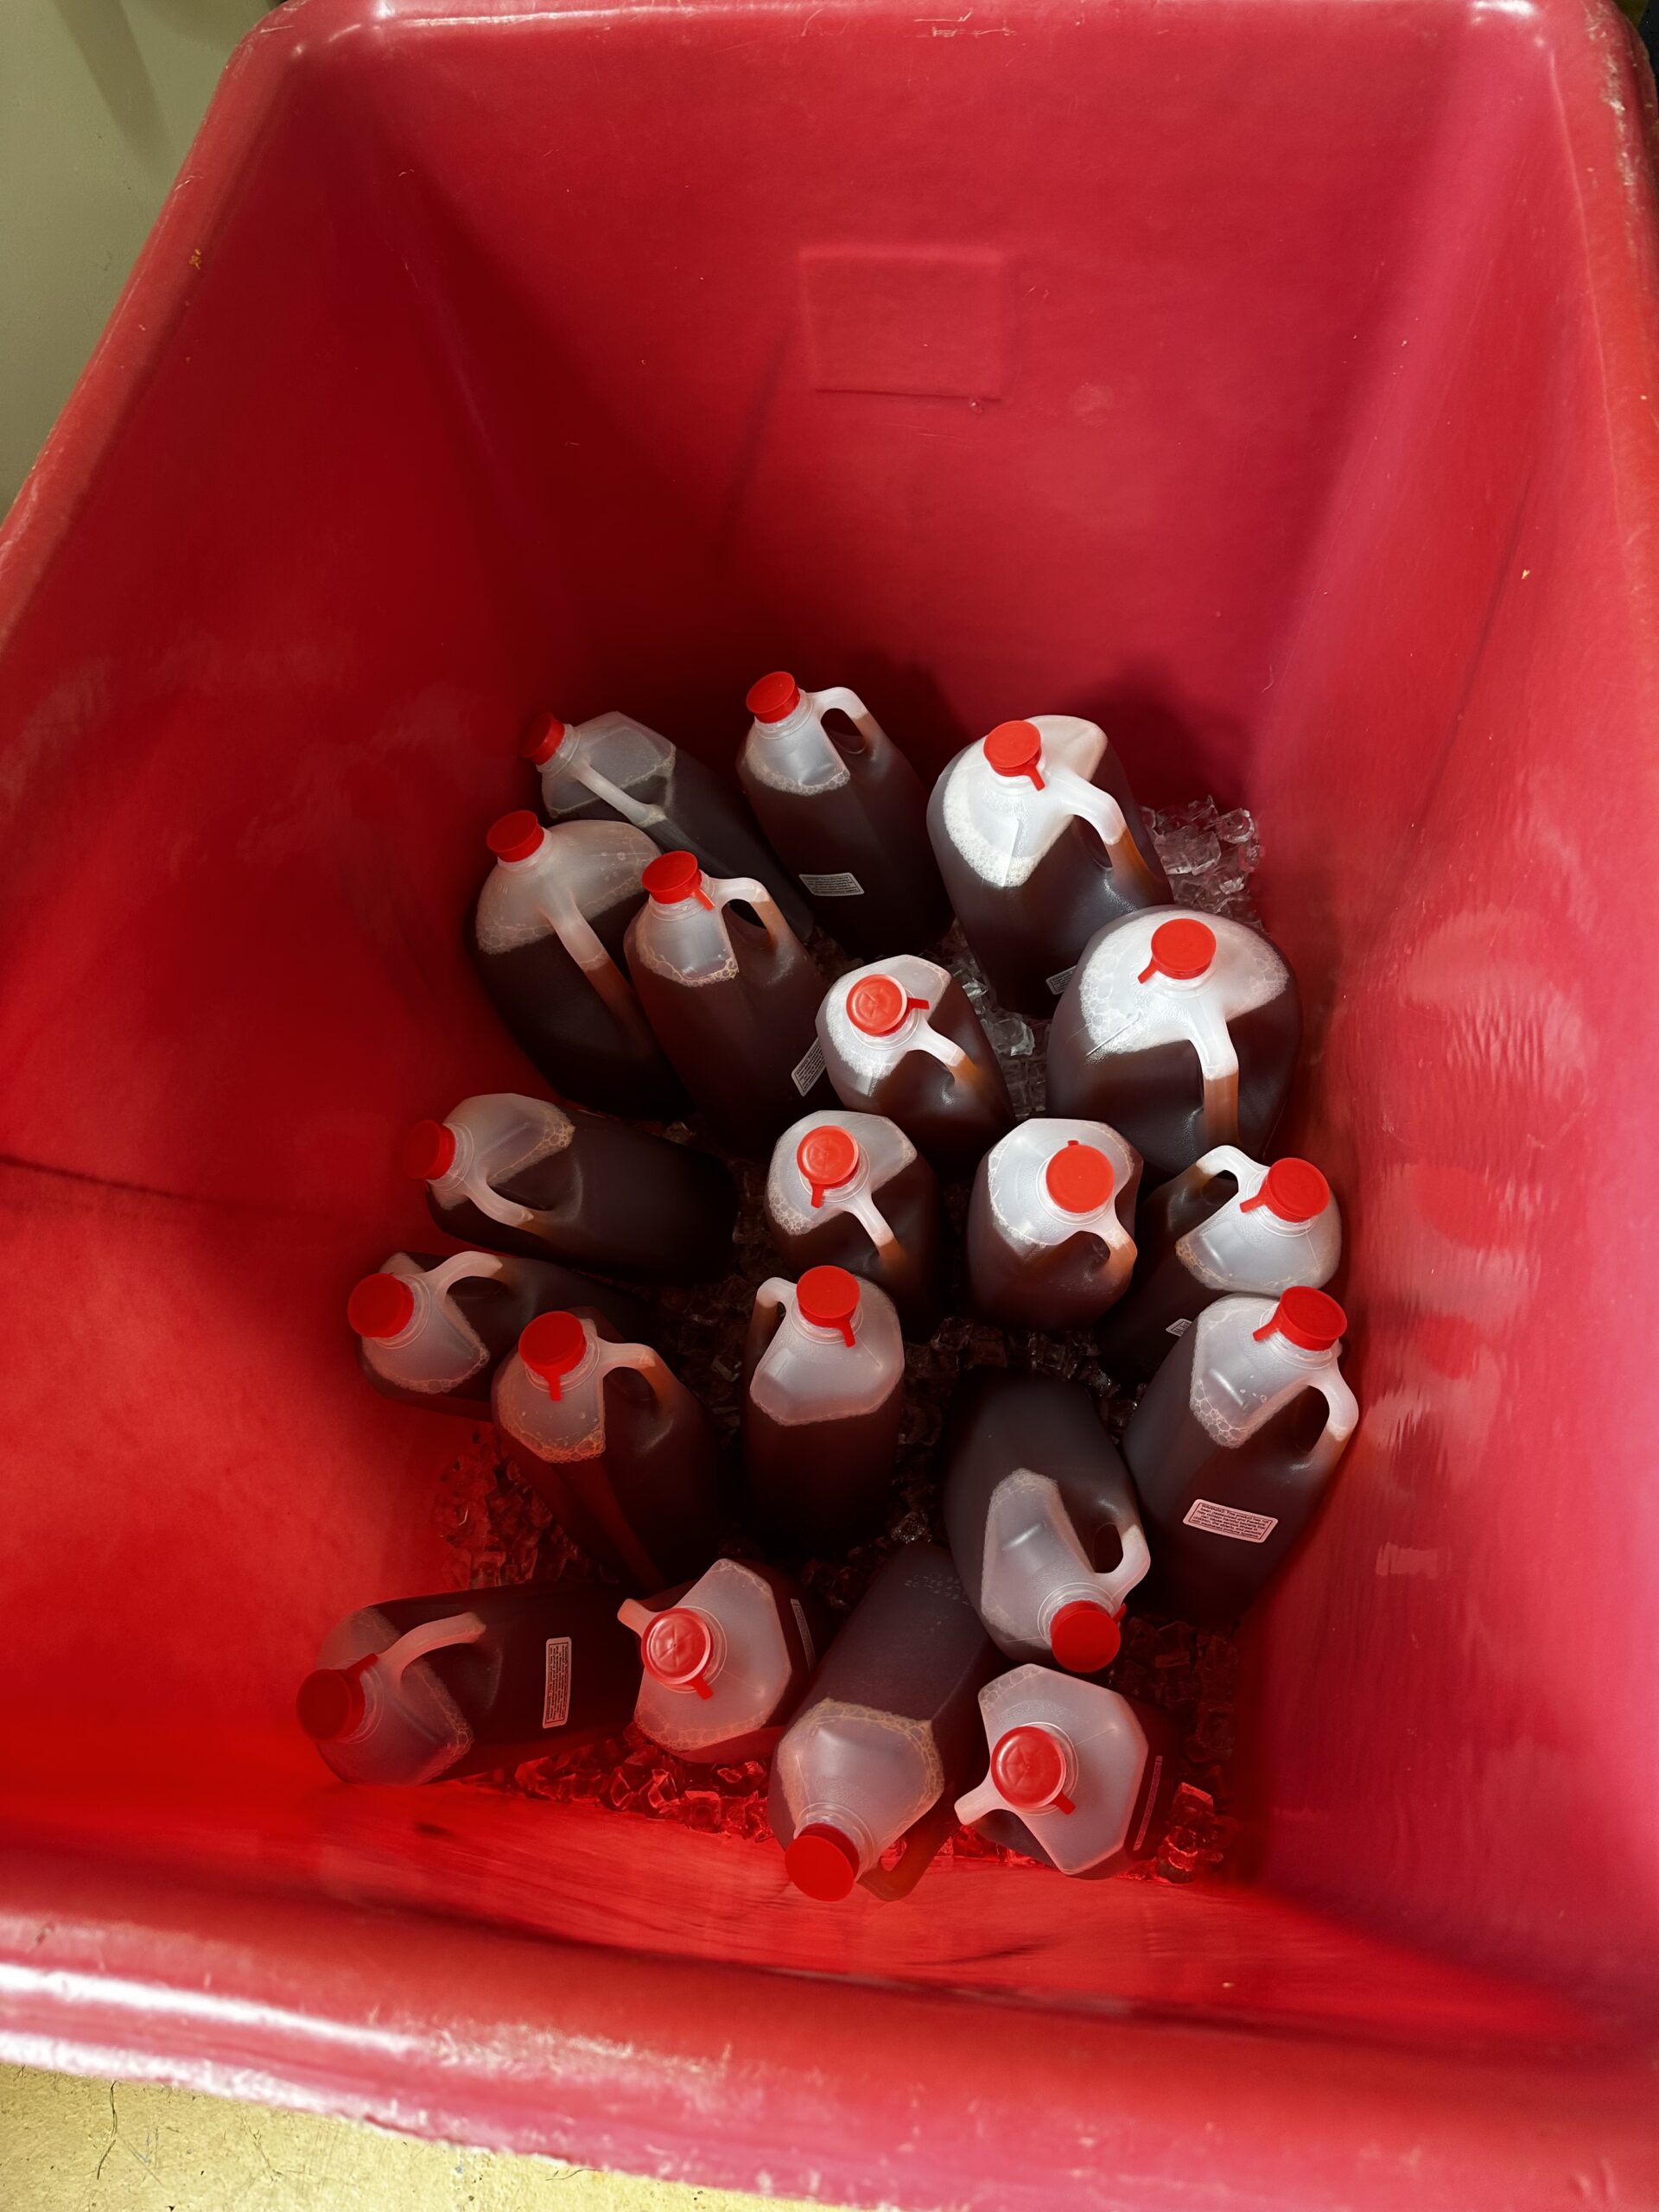
Cider in the Ice Bin. Image Credit: Madeline Ferland.
After Departure: Chill cider cartons ASAP
As soon as you get home, you need to make sure you put the cider in your refrigerator or freezer. Cider only lasts up to a week or so, but of course you can save some for the later holidays by freezing it. A jug or two of cider also serves as a wonderful present to give to family or friends, so that’s just what we did!
Apple cider is such a treat during the fall season, but being able to make it yourself from scratch is even sweeter! It’s an activity that I think everyone should try at least once, especially at the Public Cidery with accessible equipment and helpers ready to walk you through every step of the process.
If you’re interested in making your own cider, check out the agritourism listings on our website to find where you can pick your own apples and then go to Sullivan County’s Cidery webpage. Don’t forget to follow us on Instagram and like us on Facebook for the most up to date Sugar River Region events and activities, especially during this festive season!